This guide is still under development Trevor Bramwell
There are two main workflows when contributing code on GitLab: branching and forking. Which one you use will depend on your need and level of access to a project. In all
cases the fork workflow is preferred.
The first step is to create a GitLab account. You'll need to have verify your account with a credit card before CI jobs can be ran in your personal or project forks.
If you'd prefer not to have to add a credit card you can click "Request Access" on the Anuket group, after creating an account. Once your access is approved, you can utilize CI through merge
requests (MRs) against Anuket projects.
GitLab Fork Workflow
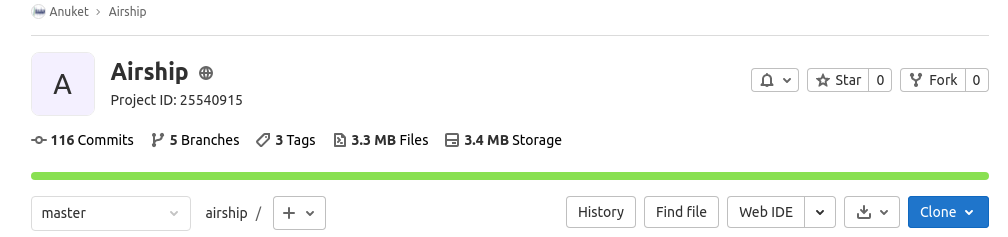
- Fork the project
- After logging in, click on the "Fork" link at the top right of the project page.
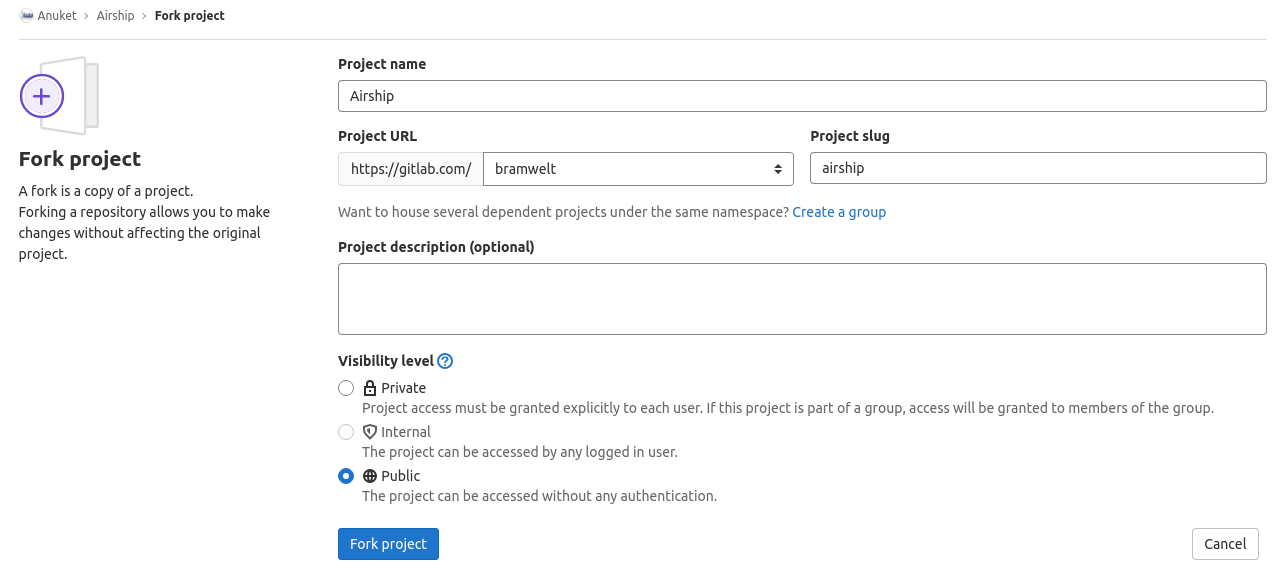
- Specify the Project name, Group (or user account) the project should be under, and the name for the fork as Project slug. Set the Visibility level to Public, and click "Fork project"
- After logging in, click on the "Fork" link at the top right of the project page.
- Setup mirroring - This will keep the project's default branch up-to-date in your fork so you can always start your work from the most recent changes to the project.
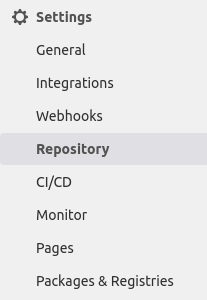
Alternatively you may manage this yourself by adding an extra 'upstream' git remote pointed at the original project, and routinely running 'git pull upstream/master','git push origin master' to update your fork.- Open Settings → Repository from the project sidebar.
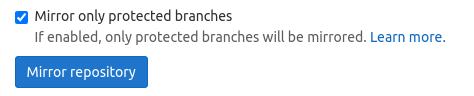
- Expand the "Mirroring repositories" section

- Enter the Git Repository URL starting with https://gitlab.com/anuket and ending with /<project>.git
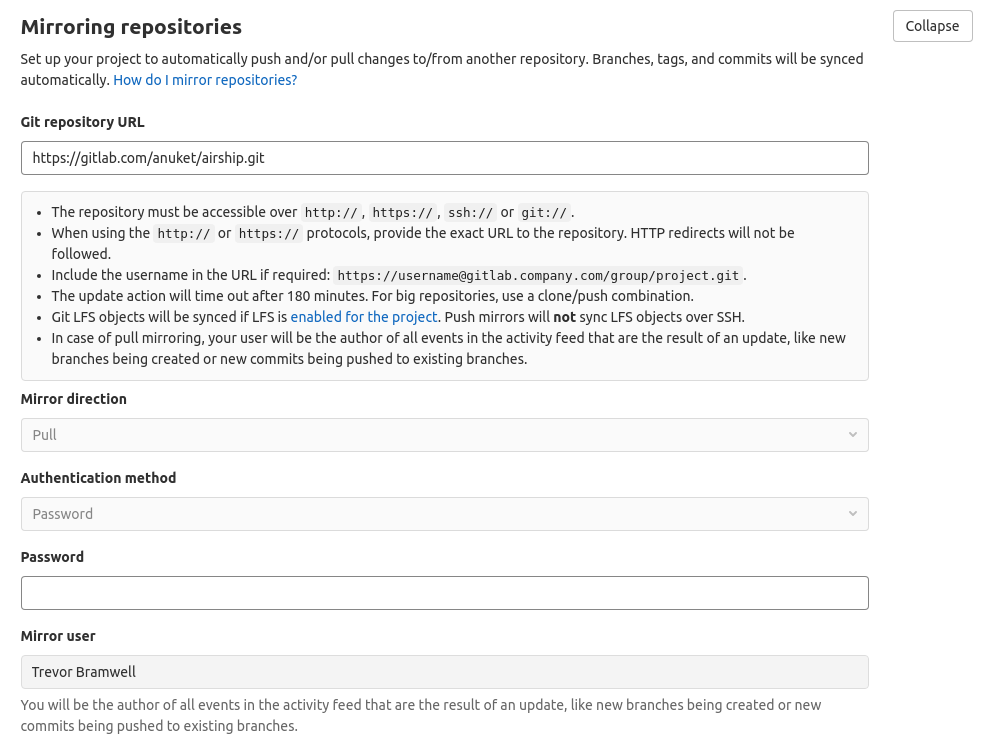
- Check "Mirror only
- Open Settings → Repository from the project sidebar.
- Clone your fork
There is a "Clone" drop down on the fork project page which provides git URLs to clone over SSH or HTTPS (to be passed to git clone) or magic links to clone the project through Visual Studio Code.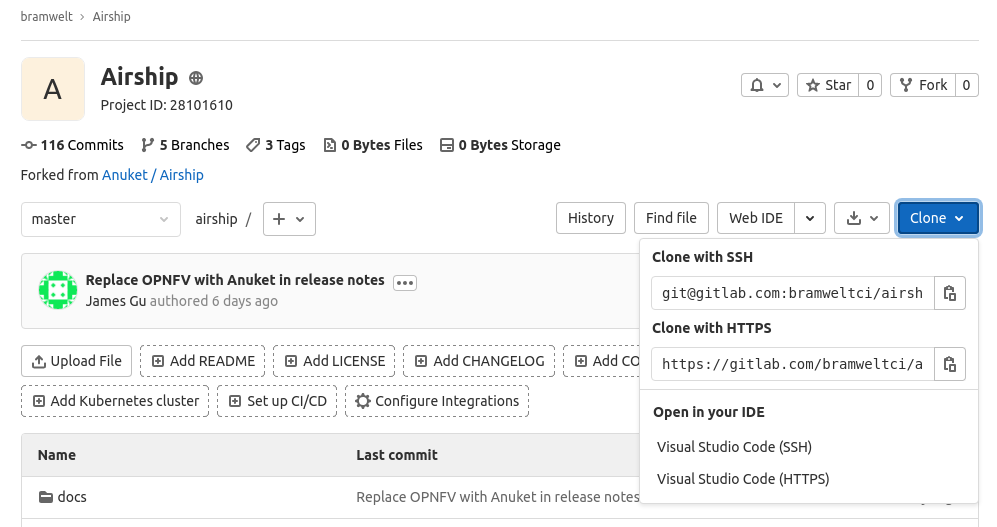
- Checkout a new branch to make your change
git checkout -b <mybranchname> - Edit the code, stage the changes (git add), and commit them to your branch
Remember to include a 'Signed-off-by' line on your commits ( git commit -s if on the command line).- In the UI: If you're going to be making more than one commit, uncheck 'Start a new merge request with these changes'
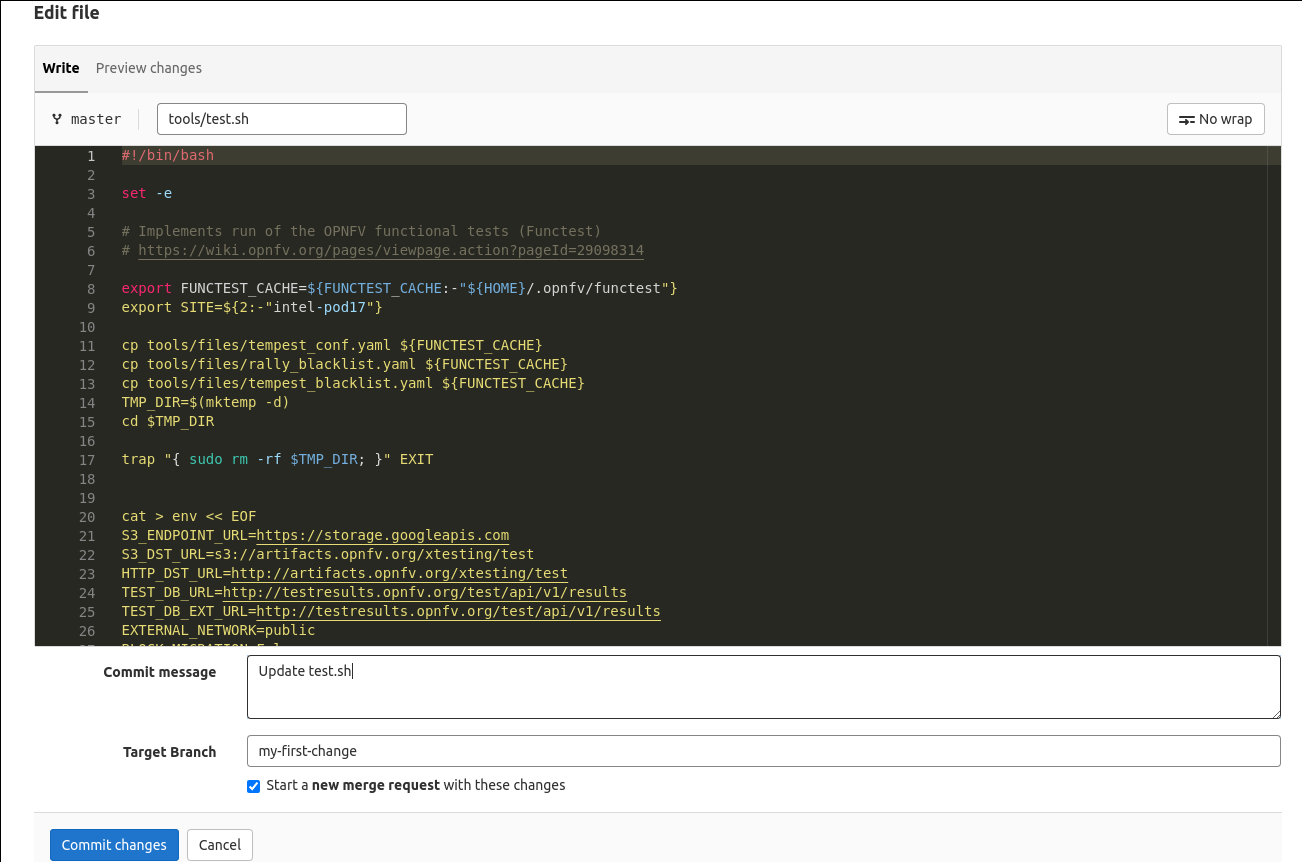
- In the UI: If you're going to be making more than one commit, uncheck 'Start a new merge request with these changes'
- Push the branch to your fork
There will be a link returned in the console from running git push, which when clicked will automatically open a merge request to the upstream project.
$ git push
Enumerating objects: 4, done.
Counting objects: 100% (4/4), done.
Delta compression using up to 8 threads
Compressing objects: 100% (2/2), done.
Writing objects: 100% (3/3), 731 bytes | 731.00 KiB/s, done.
Total 3 (delta 1), reused 0 (delta 0), pack-reused 0
remote:
remote: To create a merge request for test-commit, visit:
remote:   https://gitlab.com/bramwelt-ci/airship/-/merge_requests/new?merge_request%5Bsource_branch%5D=test-commit
remote:
To gitlab.com:bramwelt-ci/airship
 * [new branch]      test-commit -> test-commit
You can also create the merge request manually from the Merge Request page of your fork.
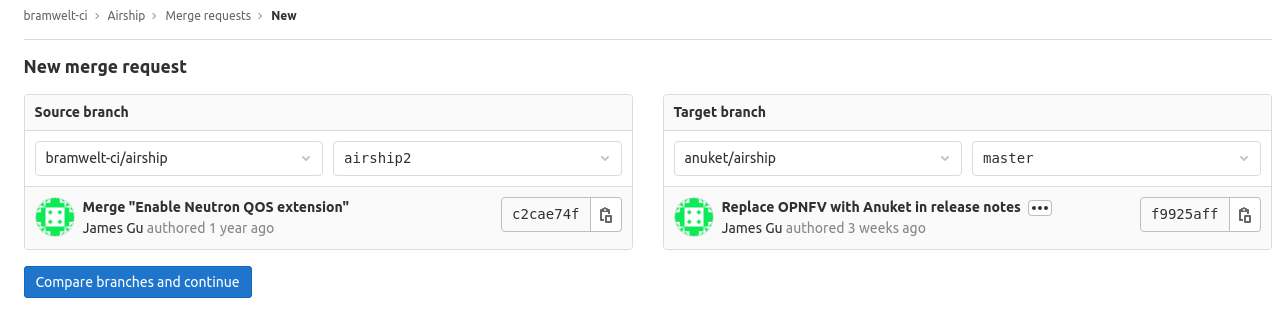
- Fill out the details of your merge request.
If you have multiple commits, write a detailed explanation about what you're asking to be merged in. You can also add "Draft: " to the title to signal that changes are still being made. - Wait for CI to pass and a committer (identified by the CODEOWNERS file) to review.
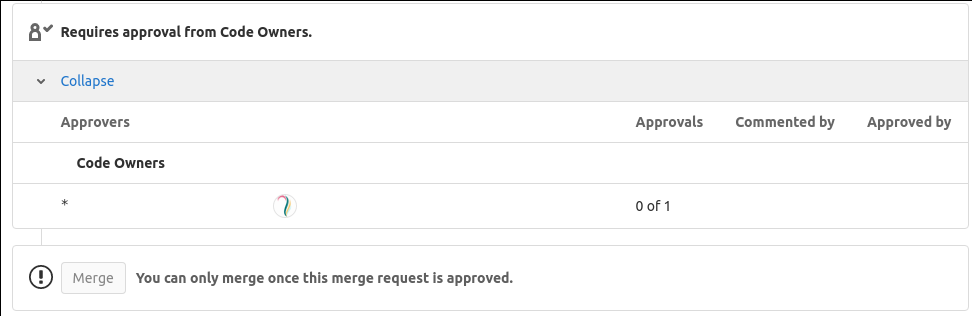
If the project is utilizing hardware for their CI, a developer will need to approve your pipeline to run before it is tested.
GitLab Branch Workflow
- Clone the project
- edit, git add, commit
Write you change (remember to include `-s` to sign off commits: `git
commit -s`) - git push
- Click the link from the message to open a merge request to the
upstream repository - If you have multiple commits, write a detailed explanation about what you're asking to be merged in.
Set the change to "Draft" if its still being worked on. - Wait for CI to pass and a CODEOWNER to review.
If the project is utilizing hardware for their CI, a developer will need to approve your pipeline to run before it is tested.