Projects are still required to develop and review their code through Gerrit until Anuket is able to fully move to Gitlab later this year (2021).
Gitlab-CI can be used for post-merge CI jobs, but verification of patchsets currently still require JJB.
This guide is still under development Trevor Bramwell
Contributor Roles
There are 3 project roles in Anuket:
Project Technical Leads (PTLs) - In charge of the technical direction of the project (also defined as a committers)
Committers - Write, review, and approve changes to the project
Contributors - Write and review changes to the project
To maintain these roles in Gitlab the following structure is in place:
The default branch (master or main) is protected, and requires CODEOWNER approval to merge changes.
Committers are listed in the CODEOWNERS file as reviewers for all files
CODEOWNERS* @committer1 @committer2 ...
All active contributors (including committers) are given Developer level permissions on the Anuket group.
Note: Users are not granted Maintainer rights as that would allow them to remove branch protections, force push, and modify license policies. Some maintainer
capabilities will be available to developers through the LFX project control center at a future date.
Contribution Process
There are two main workflows when contributing code on GitLab: branching and forking. Which one you use will depend on your need and level of access to a project. In all
cases the fork workflow is preferred.
The first step is to create a GitLab account. You'll need to have verify your account with a credit card before CI jobs can be ran in your personal or project forks.
If you'd prefer not to have to add a credit card you can click "Request Access" on the Anuket group, after creating an account. Once your access is approved, you can utilize CI through merge
requests (MRs) against Anuket projects.
GitLab Fork Workflow
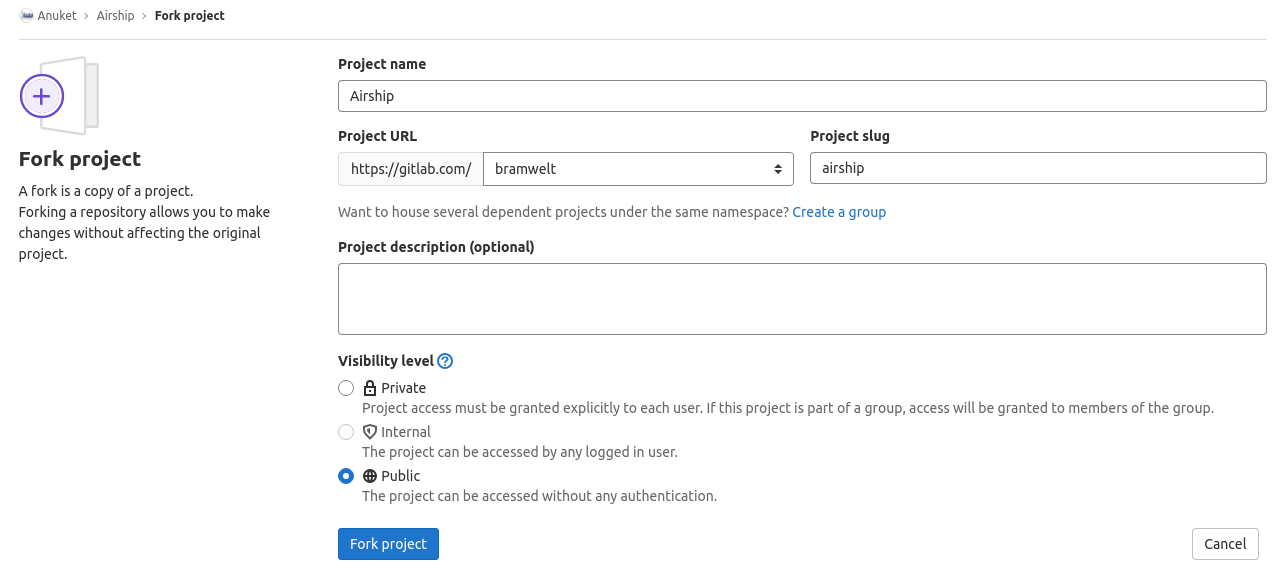
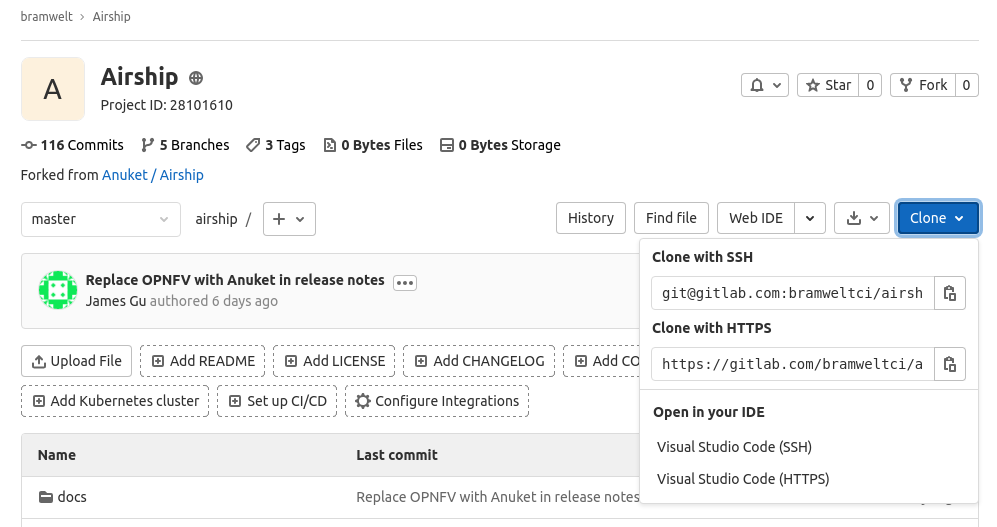
Fork the project
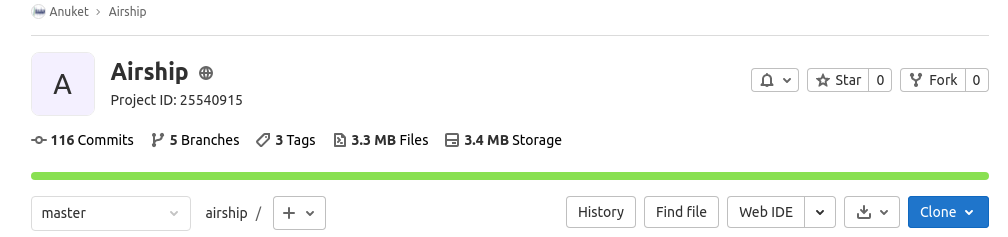
After logging in, click on the "Fork" link at the top right of the project page.
Specify the Project name, Group (or user account) the project should be under, and the name for the fork as Project slug. Set the Visibility level to Public, and click "Fork project"
Setup mirroring - This will keep the project's default branch up-to-date in your fork so you can always start your work from the most recent changes to the project.
Alternatively you may manage this yourself by adding an extra 'upstream' git remote pointed at the original project, and routinely running 'git pull upstream/master','git push origin master' to update your fork.
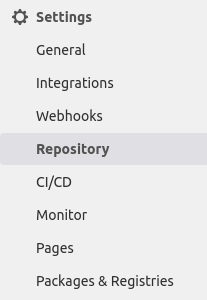
Open Settings → Repository from the project sidebar.
Expand the "Mirroring repositories" section

Enter the Git Repository URL starting with https://gitlab.com/anuket and ending with /<project>.git
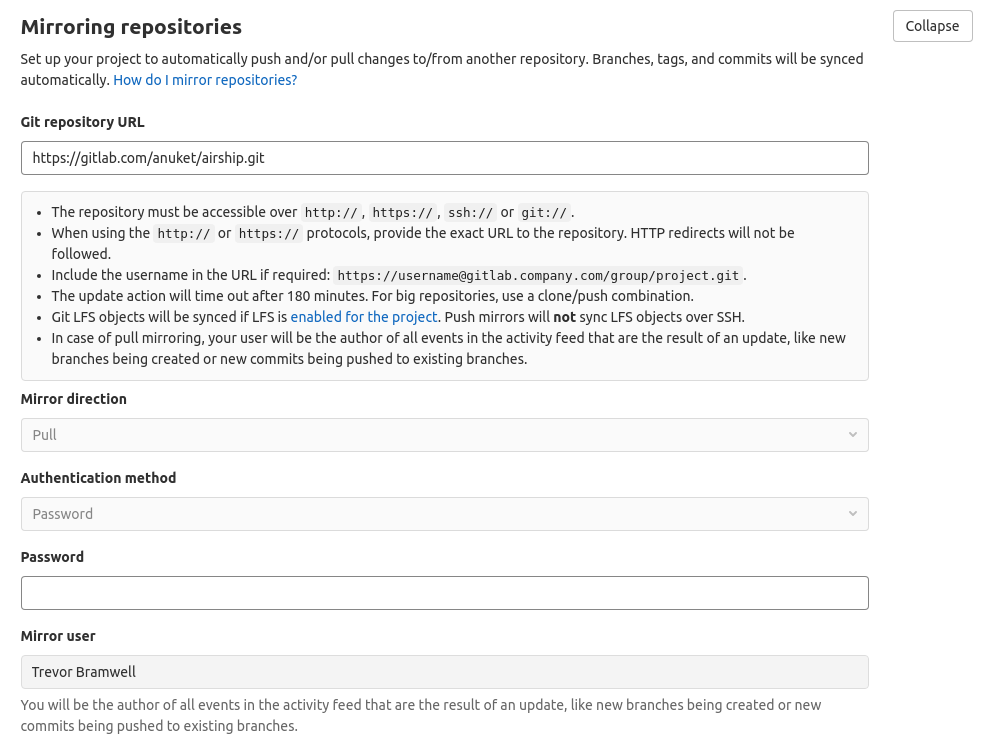
Check "Mirror only

Clone your fork
There is a "Clone" drop down on the fork project page which provides git URLs to clone over SSH or HTTPS (to be passed to git clone) or magic links to clone the project through Visual Studio Code.
Checkout a new branch to make your change
git checkout -b <mybranchname>
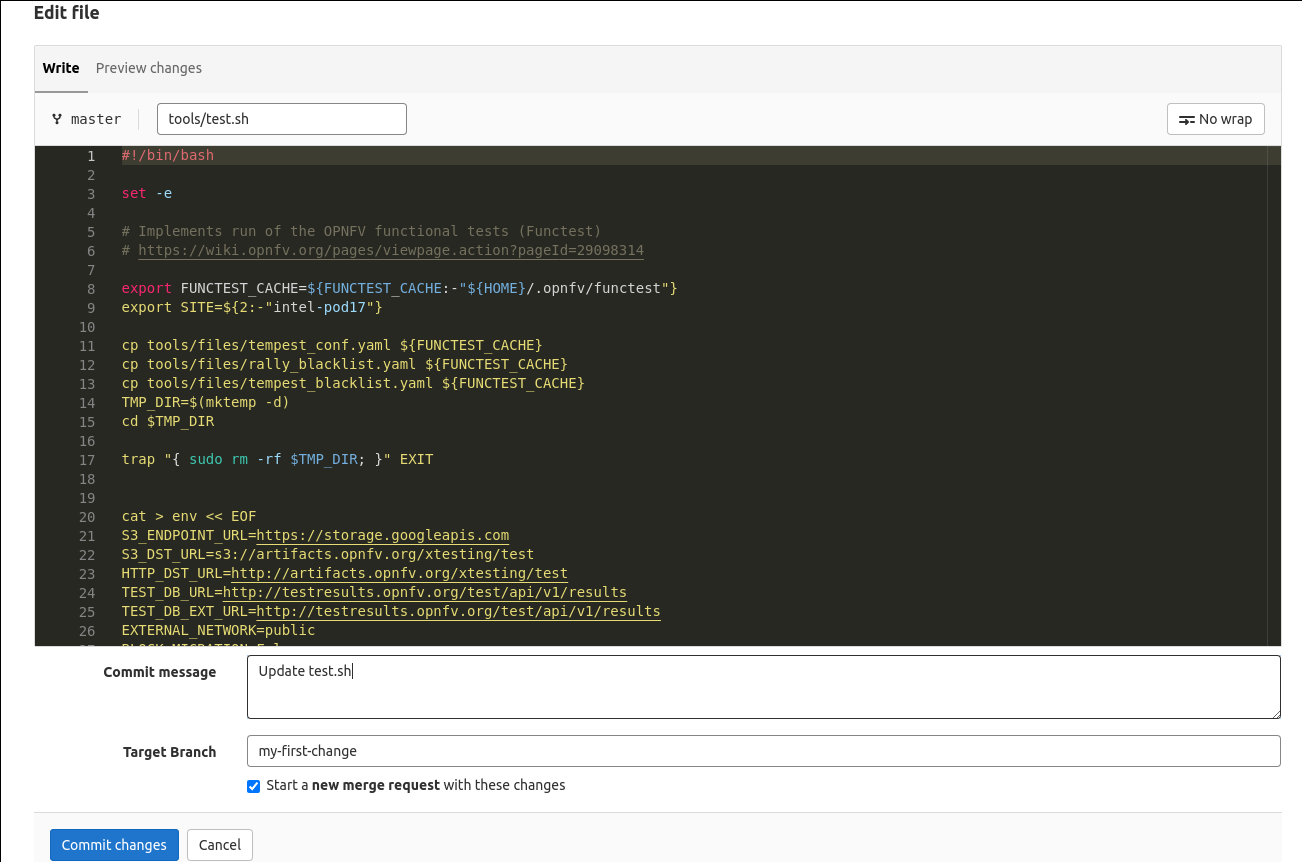
Edit the code, stage the changes (git add), and commit them to your branch
Remember to include a 'Signed-off-by' line on your commits ( git commit -s if on the command line).
In the UI: If you're going to be making more than one commit, uncheck 'Start a new merge request with these changes'
Push the branch to your fork
There will be a link returned in the console from running git push, which when clicked will automatically open a merge request to the upstream project.
$ git push
Enumerating objects: 4, done.
Counting objects: 100% (4/4), done.
Delta compression using up to 8 threads
Compressing objects: 100% (2/2), done.
Writing objects: 100% (3/3), 731 bytes | 731.00 KiB/s, done.
Total 3 (delta 1), reused 0 (delta 0), pack-reused 0
remote:
remote: To create a merge request for test-commit, visit:
remote:   https://gitlab.com/bramwelt-ci/airship/-/merge_requests/new?merge_request%5Bsource_branch%5D=test-commit
remote:
To gitlab.com:bramwelt-ci/airship
 * [new branch]      test-commit -> test-commit
You can also create the merge request manually from the Merge Request page of your fork.
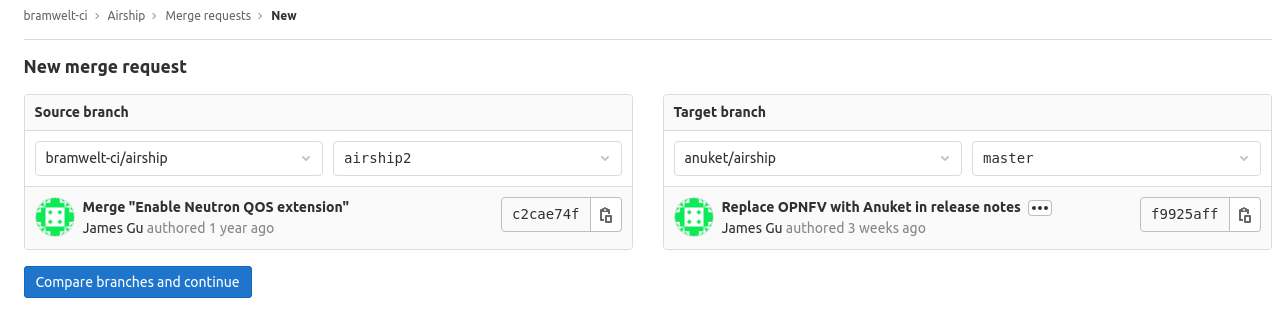
Fill out the details of your merge request.
If you have multiple commits, write a detailed explanation about what you're asking to be merged in. You can also add "Draft: " to the title to signal that changes are still being made.
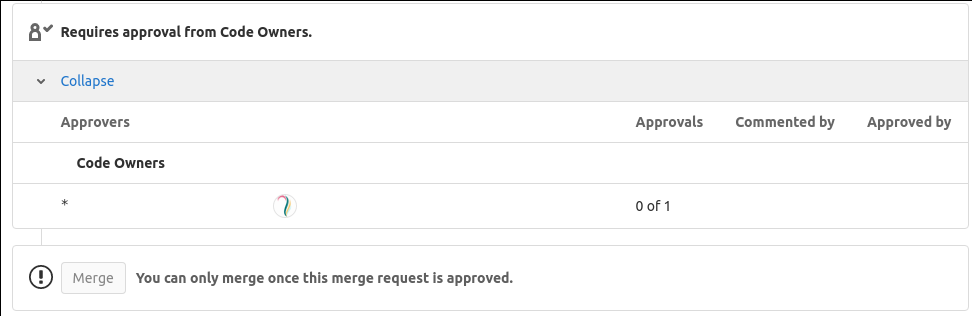
Wait for CI to pass and a committer (identified by the CODEOWNERS file) to review and merge.
If the project is utilizing hardware for their CI, a developer will need to approve your pipeline to run before it is tested.
GitLab Branch Workflow
Clone the project
edit, git add, commit
Write you change (remember to include `-s` to sign off commits: `git commit -s`)git push
Click the link from the message to open a merge request to the repository
If you have multiple commits, write a detailed explanation about what you're asking to be merged in.
Set the change to "Draft" if its still being worked on.Wait for CI to pass and a CODEOWNER to review and merge.
Gitlab-CI
There is a lot of documentation available through Gitlab for building and maintaining .gitlab-ci.yml files.
Here are some useful references:
The Releng project also maintains some of templates for projects to use; Projects are under no obligation or requirement to use the templates provided by the Releng project.
Help can always be requested through a support ticket with the Linux Foundation release engineering team if projects need assistance configuring or debugging their CI jobs or pipelines.
These examples can be used to include the templates in your own project's .gitlab-ci.yml
---
include:
  - project: anuket/releng
    file: '/gitlab-templates/Docker.gitlab-ci.yml'
---
include:
  - project: anuket/releng
    file: '/gitlab-templates/RTD.gitlab-ci.yml'
---
include:
  - project: anuket/releng
    file: '/gitlab-templates/GoogleStorage.gitlab-ci.yml'
Scheduled Jobs
Unlike Jenkins, Gitlab-CI jobs that run on an interval or schedule are configured through the UI, not in .gitlab-ci.yml. Any job that does not state it should be excluded from schedules will be triggered when a scheduled pipeline runs. This also means there is no way to set schedules for individual jobs (only pipelines) through the UI. One way around this is by specifying a job should be triggered on scheduled runs, but only if a specific variable is defined. Here's an example of the rule for such a job:
myscheduledjob:
  rules:
    - if: $CI_PIPELINE_SOURCE == "schedule" && $MY_SCHEDULE == "true"
Rules: "when: never"
When using if rules, a job will never be added if the only rules listed run "when: never" - There must always be a statement that specifies when the job is to be included in the pipeline in order for the job to run.
Hosted Runners (External Hardware builds)
If a projects needs go beyond what Gitlab-CI shared runners provide, they can request hardware they have access to be added as a hosted runner to their project by creating a Linux Foundation support request. The Linux Foundation release engineering team will the provide the requester with a GitLab runner token they can used to enroll the new hardware.
New Project Creation
After a new project has been reviewed and approved by the TSC, they can request their project be created on Gitlab through the Linux Foundation support site.